
Leveling after the Kamo tutorial
Choose repeatable work you can finish, turn in its rewards, then invest in the upgrade that makes the next run easier.
Finish the Kamo tutorial and first-grimoire quest, then alternate available missions with nearby repeatable NPC quests. Check your Mission Bird tokens and Journal, choose a manageable mission rank, and return for the hand-in before starting another route.
The Guild Hall mission loop
Use these community images to recognise the subject. Open an image for a larger view.
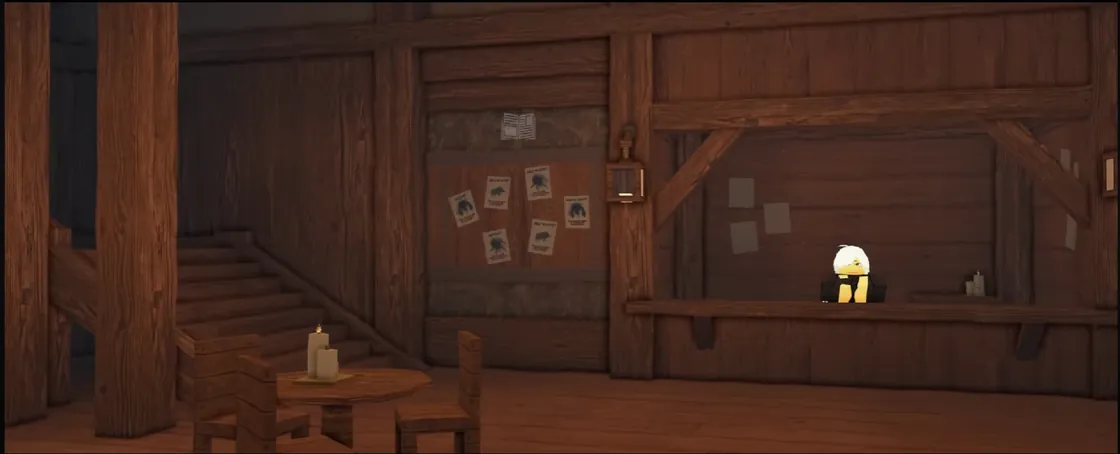
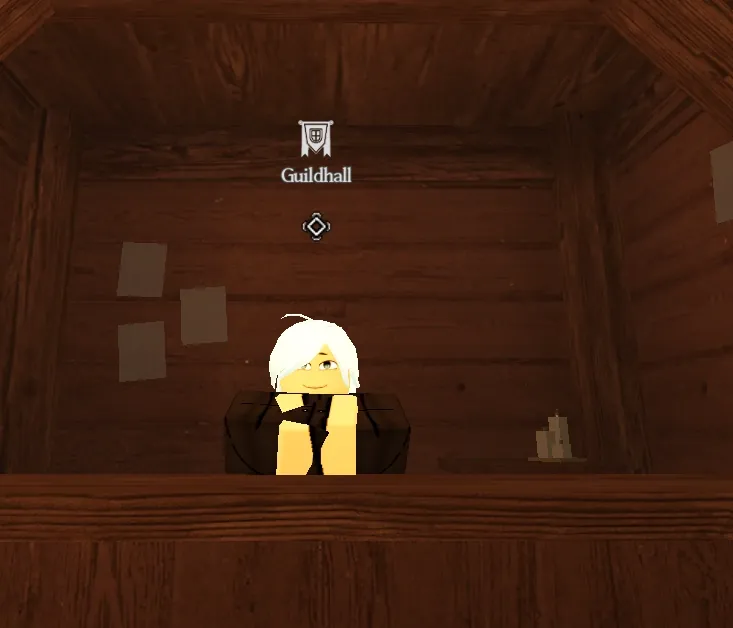
Start with the first-grimoire route
If you are still completing Chief Farris’s tutorial, follow the beginner guide in order. Weapon selection, gathering, mining, combat and the first Guild Hall mission introduce the systems you will reuse. Travelling straight to a late-game objective can leave its prerequisite unfinished.
The community walkthrough lists Level 15 for the first magic quest. A recent unlock recording at 2:28 corrects an initial level-10 recollection to 15. Use the current Journal for the actual objective and head to Wisdom Peak when it directs you there.
This page covers the repeatable loop after those opening steps. It does not replace the tutorial’s quest order.
A mission-and-quest leveling loop
Raf_Dev’s October 24 recording recommends combining mission-board work with blue-marker jobs at 0:12. The useful part is how the two activities fit together:
- Open Mission Bird and inspect your available tokens, mission rank and objective. The community tutorial lists U → Mission Bird on PC; check controls or your platform’s prompt.
- Select a mission you can complete consistently. The creator recommends a rank where you can earn an A rating; increasing rank is less useful if repeated failures prevent a hand-in.
- Finish its objective and collect the completion reward. Check the Journal or mission interface before assuming that defeating the last enemy ended the whole task.
- When no suitable mission is available, take a nearby repeatable NPC quest. Use the quest directory to compare the named NPC, objective, listed reward and repeatable status.
- Hand it in, inspect mission availability again, and repeat the activity that is ready.
The recording discusses repeatable blue quests again at 2:49. A blue marker is a useful lead, but the current NPC dialogue determines whether you can accept that job again.
Choose work around your current bottleneck
| What is slowing you down? | Useful next action | Where to look |
|---|---|---|
| No mission available | Complete a nearby repeatable job and check availability afterwards | Regional quest directory |
| Too much travel between objectives | Group accepted tasks around one region and identify the return NPC first | Locations & NPCs |
| Enemies take too long to defeat | Check weapon requirements, learned abilities and the next proficiency purchase | Mastery & proficiency |
| You keep losing a fight | Practise guard, parry and retreat inputs on an easier encounter before raising mission rank | Controls & combat |
| You need equipment materials as well as progress | Use a gathering or Crafting session with a specific recipe in mind | Professions and equipment |
| A major quest will not start | Check its prerequisite dialogue and current Journal objective | Quests & unlocks |
This is a route-planning recommendation, not a measured comparison of every EXP source. The quest reference includes nonrepeatable jobs, so do not plan a continuous farm around a one-time reward such as Adelfus’s wagon wheels.
Character level is only one progression track
A character-level increase does not automatically buy a weapon skill. Weapon proficiency has an experience bar, purchase resources and a recommendation gate; Grimoire Mastery develops from compatible magic damage. Keep those tracks separate when deciding what to farm.
Profession progress is another track. The Crafting material loop helps work toward a documented equipment recipe; it does not establish the fastest character-level route. Plan the desired output before consuming spare gear or materials.
For later objectives, use the individual Magic Knight Exam, augment and grimoire evolution guides. Exam timing and evolution’s Level 70/75 descriptions have unresolved source differences, so a universal level-by-level unlock chart would be misleading.
Why there is no fixed EXP-per-hour promise
The video’s five-hour anecdote, token-refill estimates and repeat timers describe that recording. They are not a current server test, and the returned captions have unspecified language provenance. This guide uses the supported activity sequence without turning those estimates into a guaranteed schedule or maximum-level claim.
If a repeatable quest is unavailable, read its dialogue, check whether you handed in the previous attempt and use another ready activity. Do not wait on an assumed timer when the current interface gives different information.
Video notes & demonstrations
Recent walkthroughs and demonstrations used on this page. Each clip links to the relevant moment; creator reports and opinions are distinguished from measurements by this wiki.
HOW TO GET MAGIC IN CLOVER RPG!! (FULL GUIDE)
Dated creator walkthrough · narration reviewedThe creator corrects an initial level-10 assumption to level 15 during the walkthrough. Follow the current quest log for later changes.
The BEST METHOD To Level Up FAST In Clover RPG (FAST EXP FARM)
Dated creator walkthrough · narration reviewedA mission-token and blue-quest leveling loop. Timer estimates belong to this recording; use the current menu for availability.
Sources & review notes
References reviewed October 26, 2026. Community information can change with game updates. These notes are source-based and have not been verified through our own gameplay.
- Beginners Guide Community walkthrough of the Kamo tutorial and progression to the first magic.
- Quests Regional NPC objectives, hand-ins, listed rewards and repeatability. Journal requirements may change.
- FAQ Community FAQ for the code system, rerolls, and progression. Some entries may be outdated.
- Mastery Separates weapon proficiency and Grimoire Mastery. Configured caps are distinguished from demonstrated upgrades.
- Professions Five documented profession tracks with six tiers per track.
- Raf_Dev · The BEST METHOD To Level Up FAST In Clover RPG (FAST EXP FARM) A mission-token and blue-quest leveling loop. Timer estimates belong to this recording; use the current menu for availability.
- Dentsukatarina · HOW TO GET MAGIC IN CLOVER RPG!! (FULL GUIDE) The creator corrects an initial level-10 assumption to level 15 during the walkthrough. Follow the current quest log for later changes.